This is just one of the many methods I use to create my work. |
| |
 |
|
 |
|
 |
|
|
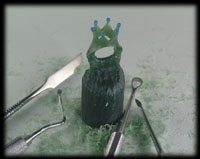
The process starts by carving a wax design. This wax is a hard material that can be carved with any sharp object, I mainly use dental tools. |
|
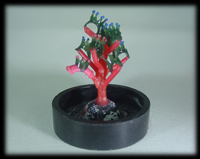
Once the carving is the way you like it. The model gets a sprue attached to it. Then the unit is placed on a tree with other models. |
|
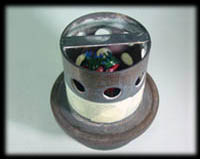
After placing the all the models on the tree. An outer flask gets placed around the object and the holes are taped for the next step. |
|
| |
|
|
|
|
|
|
| |
 |
|
 |
|
 |
|
|
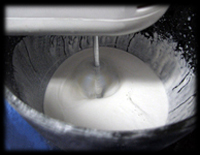
A plaster like material is mixed to proper ratios and used to surround the models during the burn cycle. |
|
All the air must be removed from the mixture to prevent air bubbles forming around the models. Any error in this step can ruin all models in this batch. |
|
Slowly pouring the material in the flask care is taken to prevent the models from breaking or falling off the tree. |
|
| |
|
|
|
|
|
|
| |
 |
|
 |
|
 |
|
|
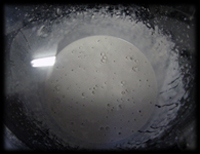
With the flask full it is ready to go into the vacuum machine. |
|
This step removes any air bubbles that could have formed on the models when pouring in the material. |
|
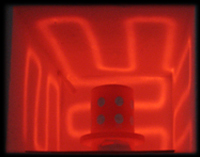
With the plaster like material cured the flask is stripped and placed in the burn oven for a 4 to 8 hr. cycle. |
|
| |
|
|
|
|
|
|
| |
 |
|
 |
|
 |
|
|
The burn cycle reaches temperature of 1400 deg. in some intervals of the cycle. This process burns all the wax completely out leaving an air void where the models were. |
|
Melting the metal is a step that needs to be done carefully. This can reach 1900 deg. If done improperly it can cause impurities to enter the metal and cause problems with the casting. |
|
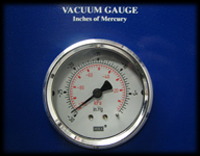
The flask is then placed inverted in a vacuum chamber exposing the bottom. A vacuum between -20 to -30 psi is pulled on the flask to help pull the metal in and avoid it from blowing back out of the flask. |
|
| |
|
|
|
|
|
|
| |
 |
|
 |
|
 |
|
|
The metal is poured in to the air void where the models were. This is done quickly and evenly to avoid any splattering of the metal. This is critical as all of the models could be ruined if the metal hardens to soon. |
|
The flask is allowed to cool for a few minutes and then placed in cool water to break the plaster away from the models. |
|
At the end you should have a exact model of what you started with. If it was only as easy as I made it sound. |
|
| |
|
|
|
|
|
|
|


